Want to take your windlace game to the next level? Check out this awesome tutorial by Shannon Walters of Interiors by Shannon, who offers up some of his secrets to creating multicolored windlace.
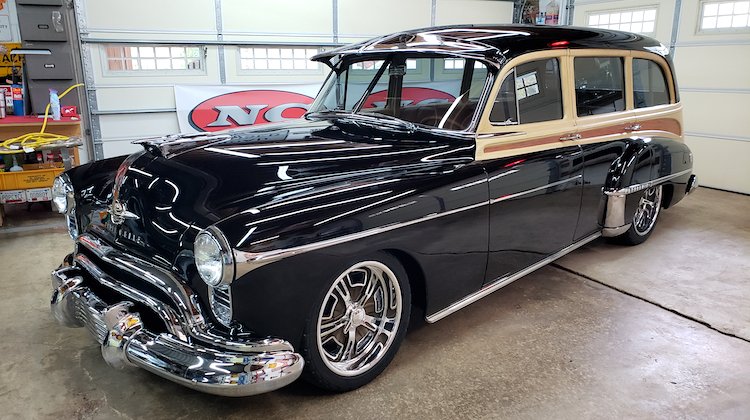
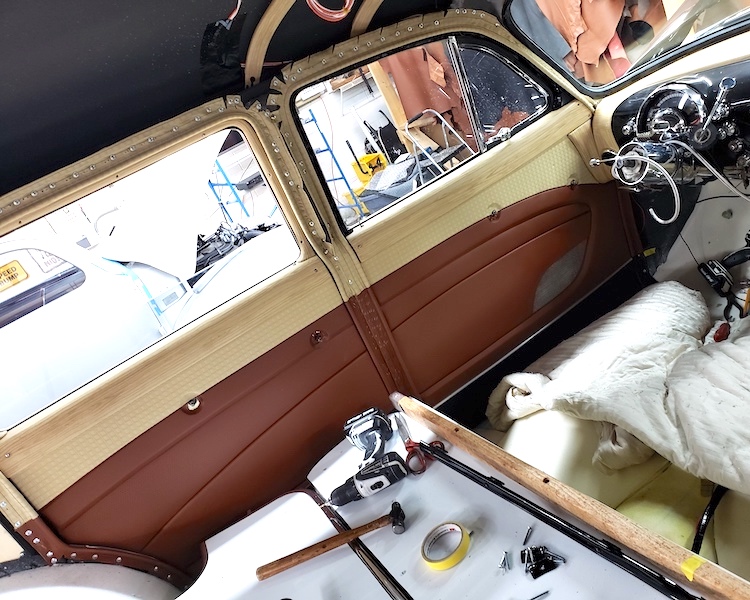
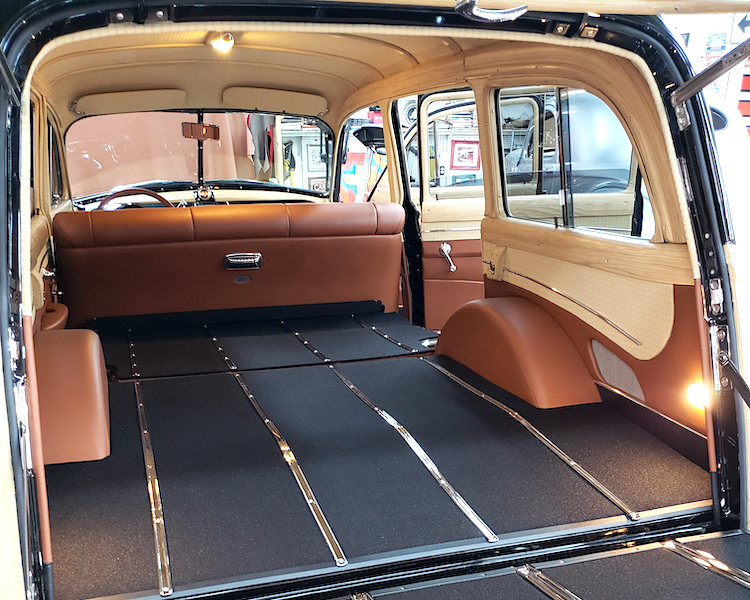
Shannon recently completed a beautiful interior for a 1950 Oldsmobile Tin Woody. With the upholstery being beige, brown and black, he was wary of installing a typical monochromatic windlace along the doorjambs, as it could disrupt the symmetry of the interior design.
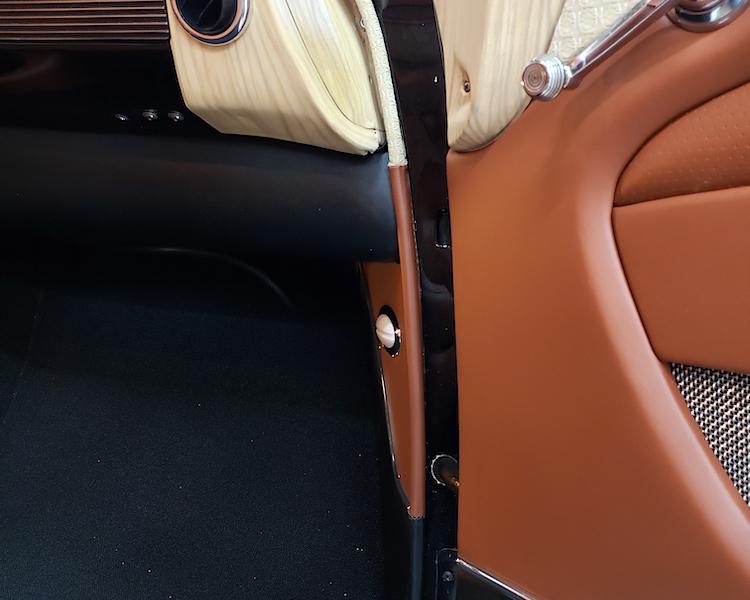
Therefore, he decided to create a multicolored windlace that not only matched the cabin’s interior palette, but also lined up perfectly with its color breaks.
Follow Shannon, as he offers up a masterclass in the process of creating multicolored windlace, and even provides a novel solution to pesky doorjamb curves.
In Shannon’s own words, here’s how it’s done:
1. Measure the doorjamb
Measure the perimeter of the doorjamb, noting the points where colors will change on the windlace. This will provide you with the overall length of the lace, as well as the length of each color.
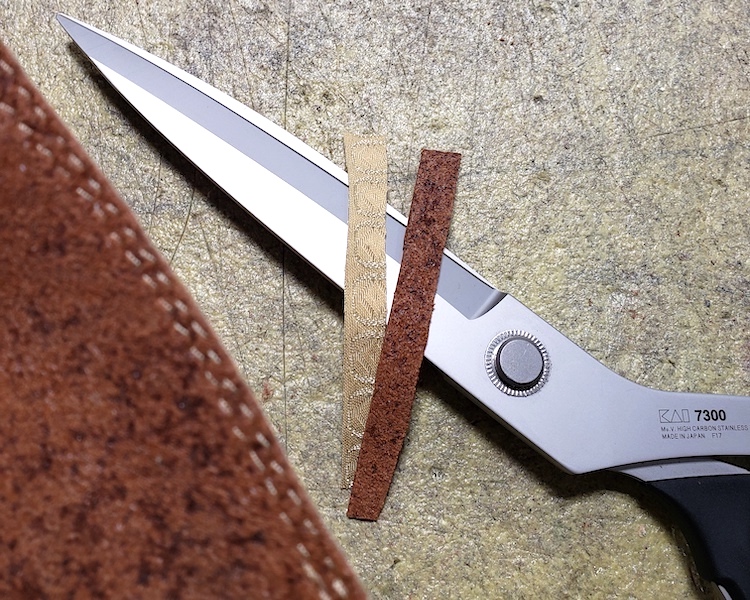
2. Cut material strips
Most windlace material is cut 3″ wide. The length is whatever you measured in the previous step, plus an additional 1⁄2″ seam allowance so you can connect the strips.
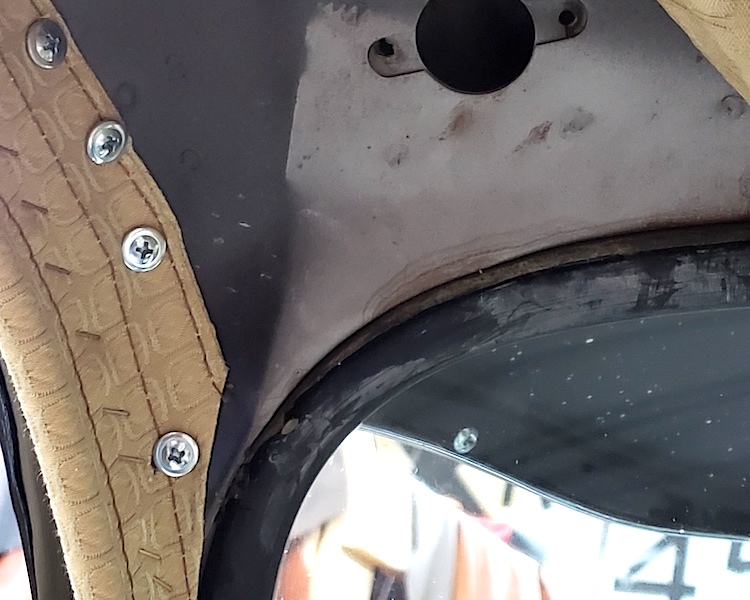
In this case, I cut leather strips 4″ wide. This is because along the doorjambs of the Oldsmobile there are multiple locations where it’s not possible to staple lace to the body. The added width gave me the ability to fasten the lace using #8 truss head self-tapping screws.
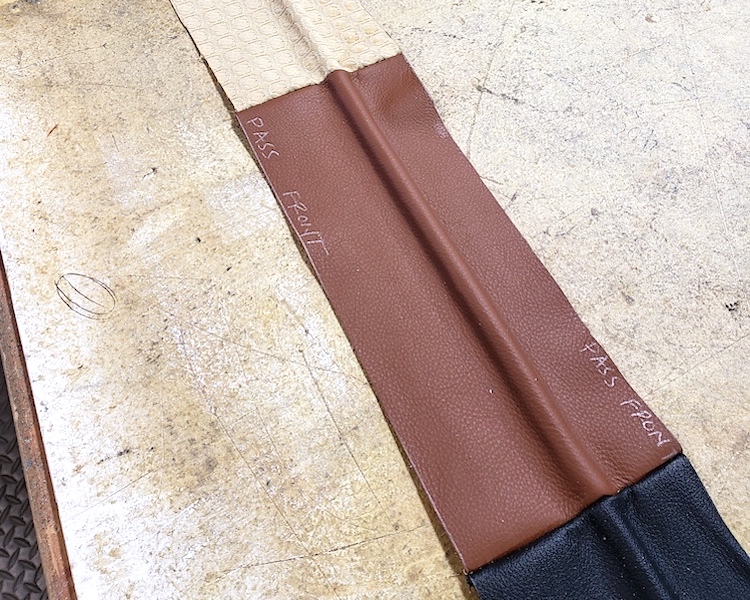
3. Sew the material strips together
Sew the different color strips of material together with two rows of stitches made closely to one another.
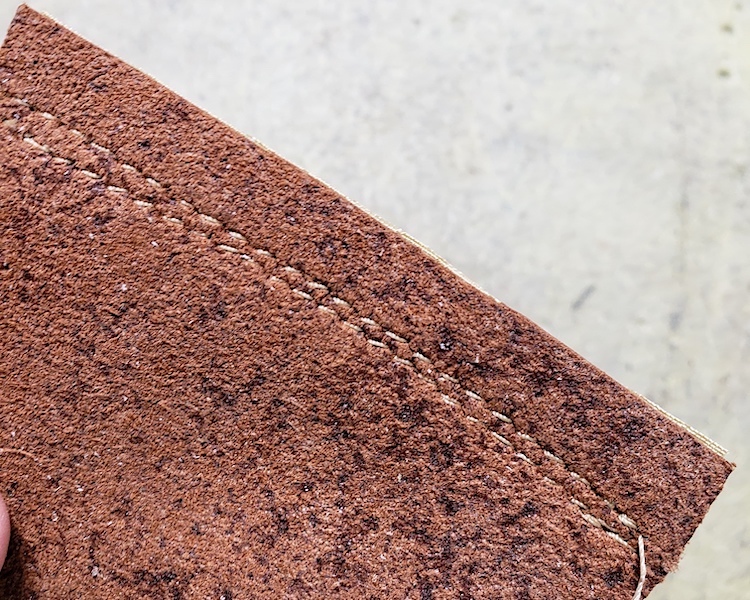
Then, cut the excess selvage from the seam.
4. Measure and cut a sponge rod
Cut a 3/8” sponge rod to the length of your material strip.
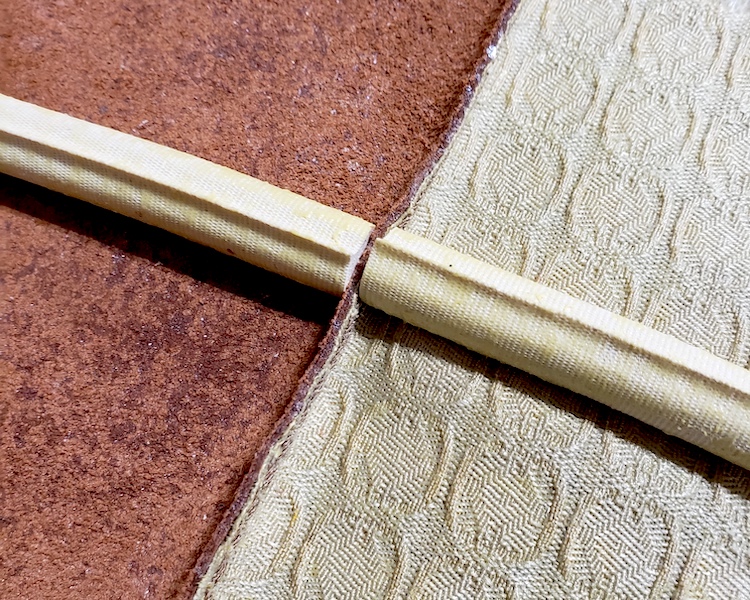
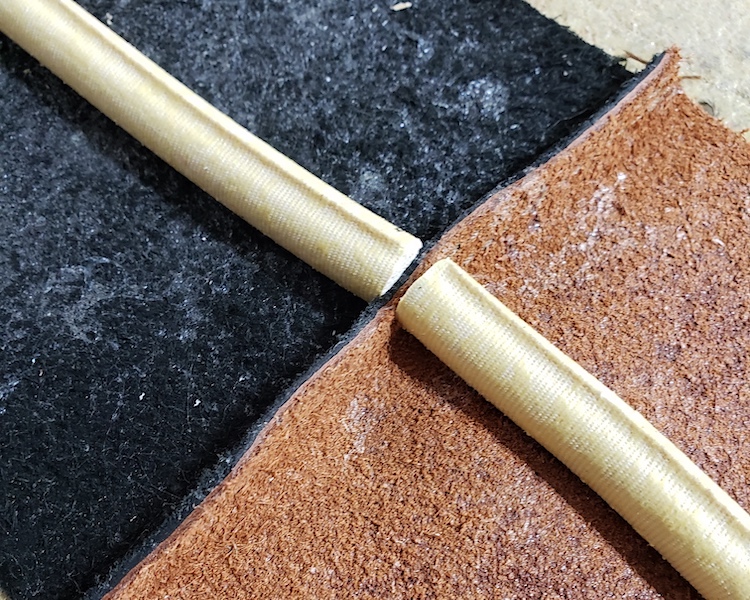
5. Glue the sponge rod to the material
Spray adhesive to the sponge rod and the inside of the material strip.
Adhere the sponge rod to the center of the strip, making sure to cut the sponge rod at the seams that connect the different color materials. This will give the seams necessary clearance to prevent bulging around the rod.
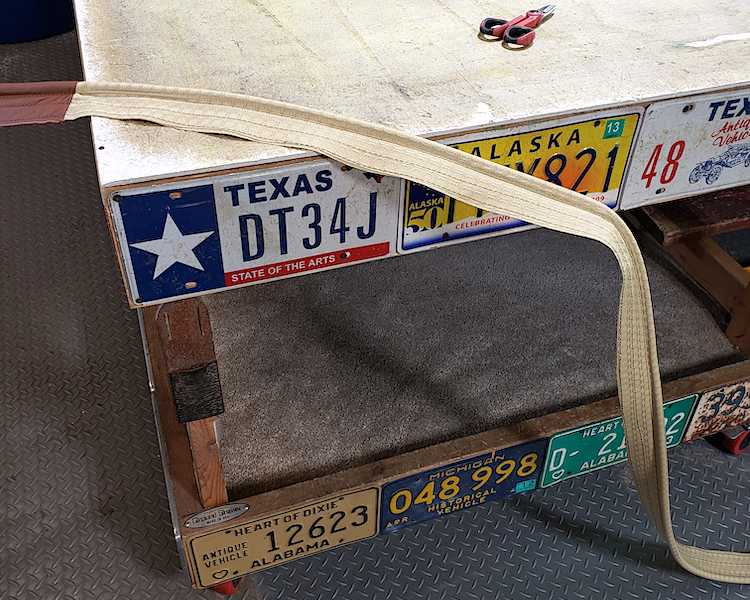
6. Attach a welding rod to shape the windlace
If there’s a section of the doorjamb where the windlace will need to curve, use a piece of welding rod to hold the shape required.
To do this, place the welding rod on top of the section of sponge rod that will curve before closing the material strip around it.
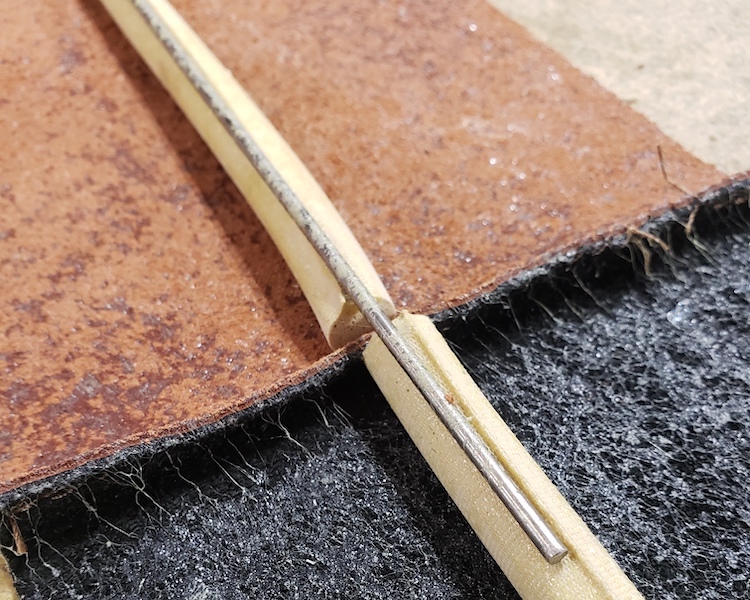
The welding rod will allow you to bend and hold the windlace in any shape and direction necessary. It’s particularly helpful in places where there isn’t anywhere to attach the windlace to the doorjamb.
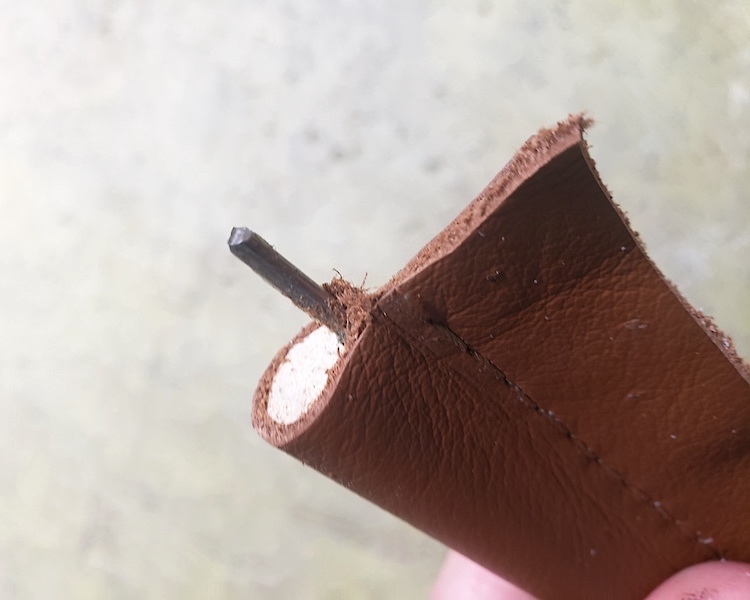
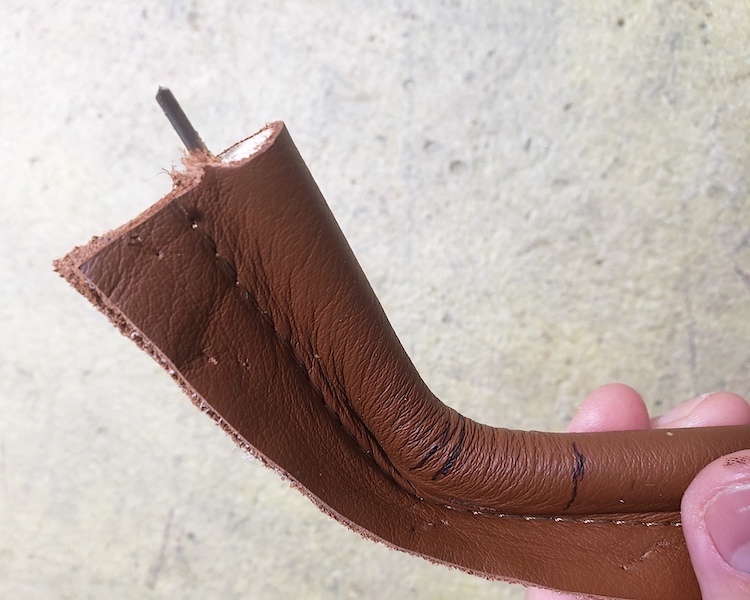
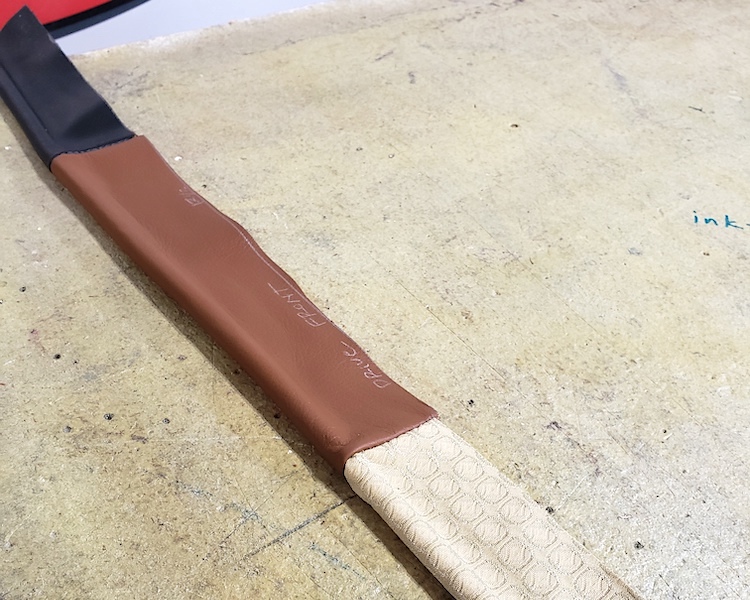
7. Wrap the rods, creating your windlace
With the sponge rod centered and welding rods placed, you’re finally ready to wrap the rods and create the windlace.
Flip everything over, making sure not to glue your project to the table, and rub the material to the shape of the sponge rod.
Then flip it back over again and finish wrapping.
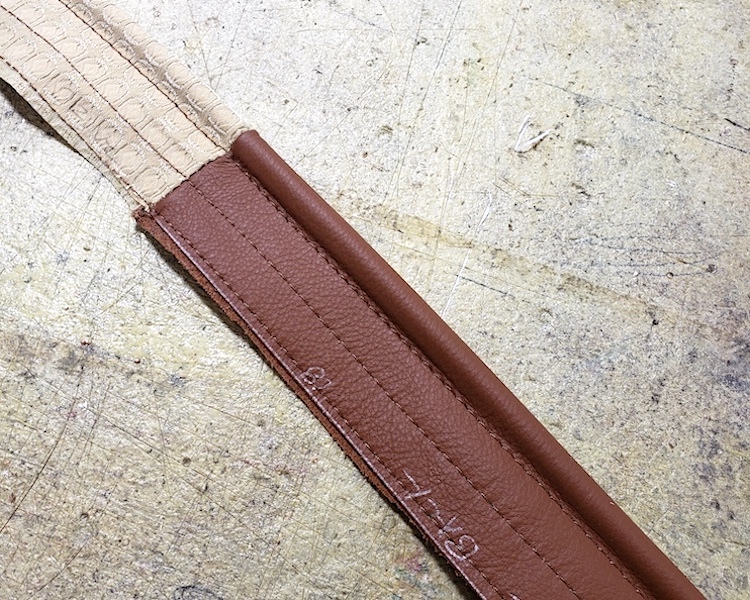
8. Sew a ‘stay stitch’
Because the windlace is glued shut, you don’t have to sew a “stay stitch” directly next to the sponge. However, it’s still a good idea to sew one along the entire length of windlace for added strength.
Because my windlace was extra wide, I ran a few seams.
9. Install the windlace
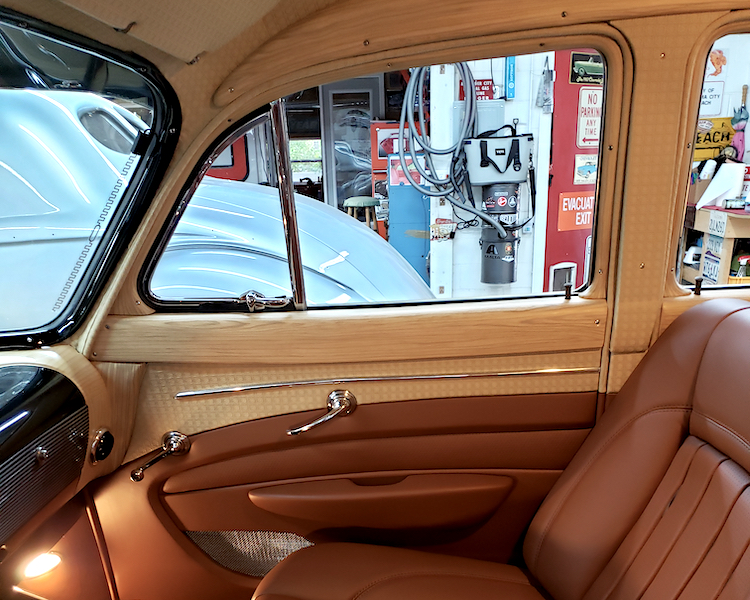
The windlace is now finished and ready to install.
You can use a combination of staples and self-tapping screws to attach the windlace to the doorjambs.
Don’t forget to pay close attention to where the separation of colors occurs within the cabin’s interior. You’ll want to make sure the windlace lines up evenly with it.
Special Thanks…
The difference between an average hot rod interior and an award-winning one is in the details — which craftsmen like Shannon Walters have spent a lifetime mastering.
We want to thank Shannon, as well as many other master craftsmen, for continuing to share their hard-earned knowledge with The Hog Ring community. We’re lucky to work in an industry where the most talented people are also the most generous.
Tutorials like this will surely keep our craft thriving for years to come.
To see more of Shannon’s work, visit InteriorsByShannon.com, and follow his shop on Instagram and Facebook.
Thank you!
Thank you Shannon. Little trucks like that are very much appreciated!
Awesome tip Shannon…Thank you!
Wow, that’s a great technique, thank you for sharing.
Great Tip, I have been doing this for over 50 years and never thought about adding a stiffener to those difficult radius areas.
Thanks
Beautiful!
Adding the stiffener to the windlace is a great tip .
Thanks
Wicked sweet! Thanks for sharing! Love the welding rod tip.
I love learning new tricks from a master like Shannon!
Awsome detail, a real game-changer that anyone can incorporate.
I love where your heads up brother you would be a great candidate for GloTrim. Shannon‘s innovative thinking And ability to pivot ideas like this is what makes him a star that shines among us. Thank you for continuing to create and inspire